Designer lighting is fabulous, I think we can all agree! But most of the time it’s just not practical within a renovation or decorating budget to get designer lighting in every room. I’m rounding up my favorite Amazon lights that I personally own and love for you today!
optional: blackout liner (it attaches to the rings- no sewing)
This is the easiest! If you purchase all of the supplies listed above, there’s zero sewing involved.
Step 1: select your trim and order enough to go from top to bottom of the leading edge. You want about an 1″ extra on the top and bottom to wrap to the back side of the panel
Step 2: sew, or use the no-sew fabric tape to attach the trim about 1/2″ from the edge of the curtain panel
Step 3: use those ikea riktig curtain hooks to slide into the pockets on the back of the panels (see the photo below)
Step 4: attach the hooks to your rings. You’re done!!!
Step 5 (Optional): purchase the blackout liners above and attach to your curtain rings. These are completely no-sew, you just attach them to the curtain rings with the silver round rings that come in the pack.
Up close of how to slide the clips into the ribbons on the back of the panel
We all watch HGTV, right? You know the part where the hosts magically find some amazing antique doors that are just lovely in a new space? They pay $50 or something ridiculously cheap, and I usually turn to my husband and say “must be nice.” 😂
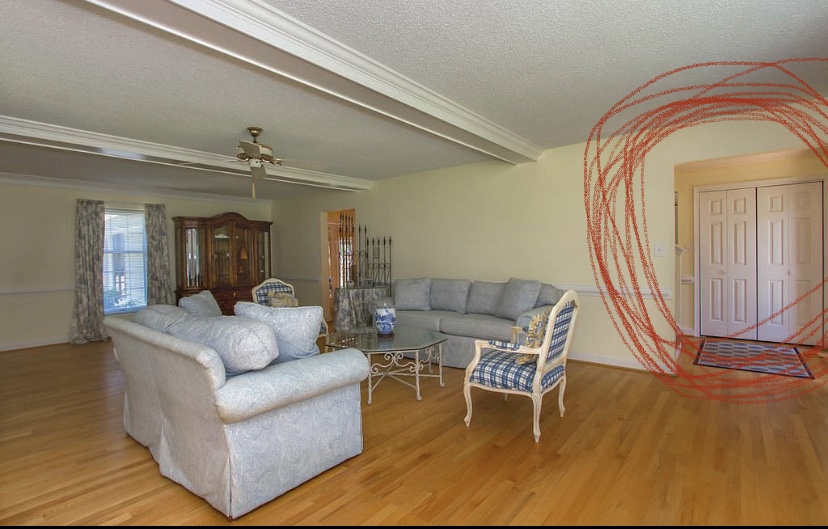
Well, we decided we wanted to make something feel more “lived in” during our renovation, too. But no amount of searching marketplace, Craigslist or OfferUp yielded anything. Of course what followed next was a lot of googling, and resulted in spray paint, and antiqued mirrored closet doors.
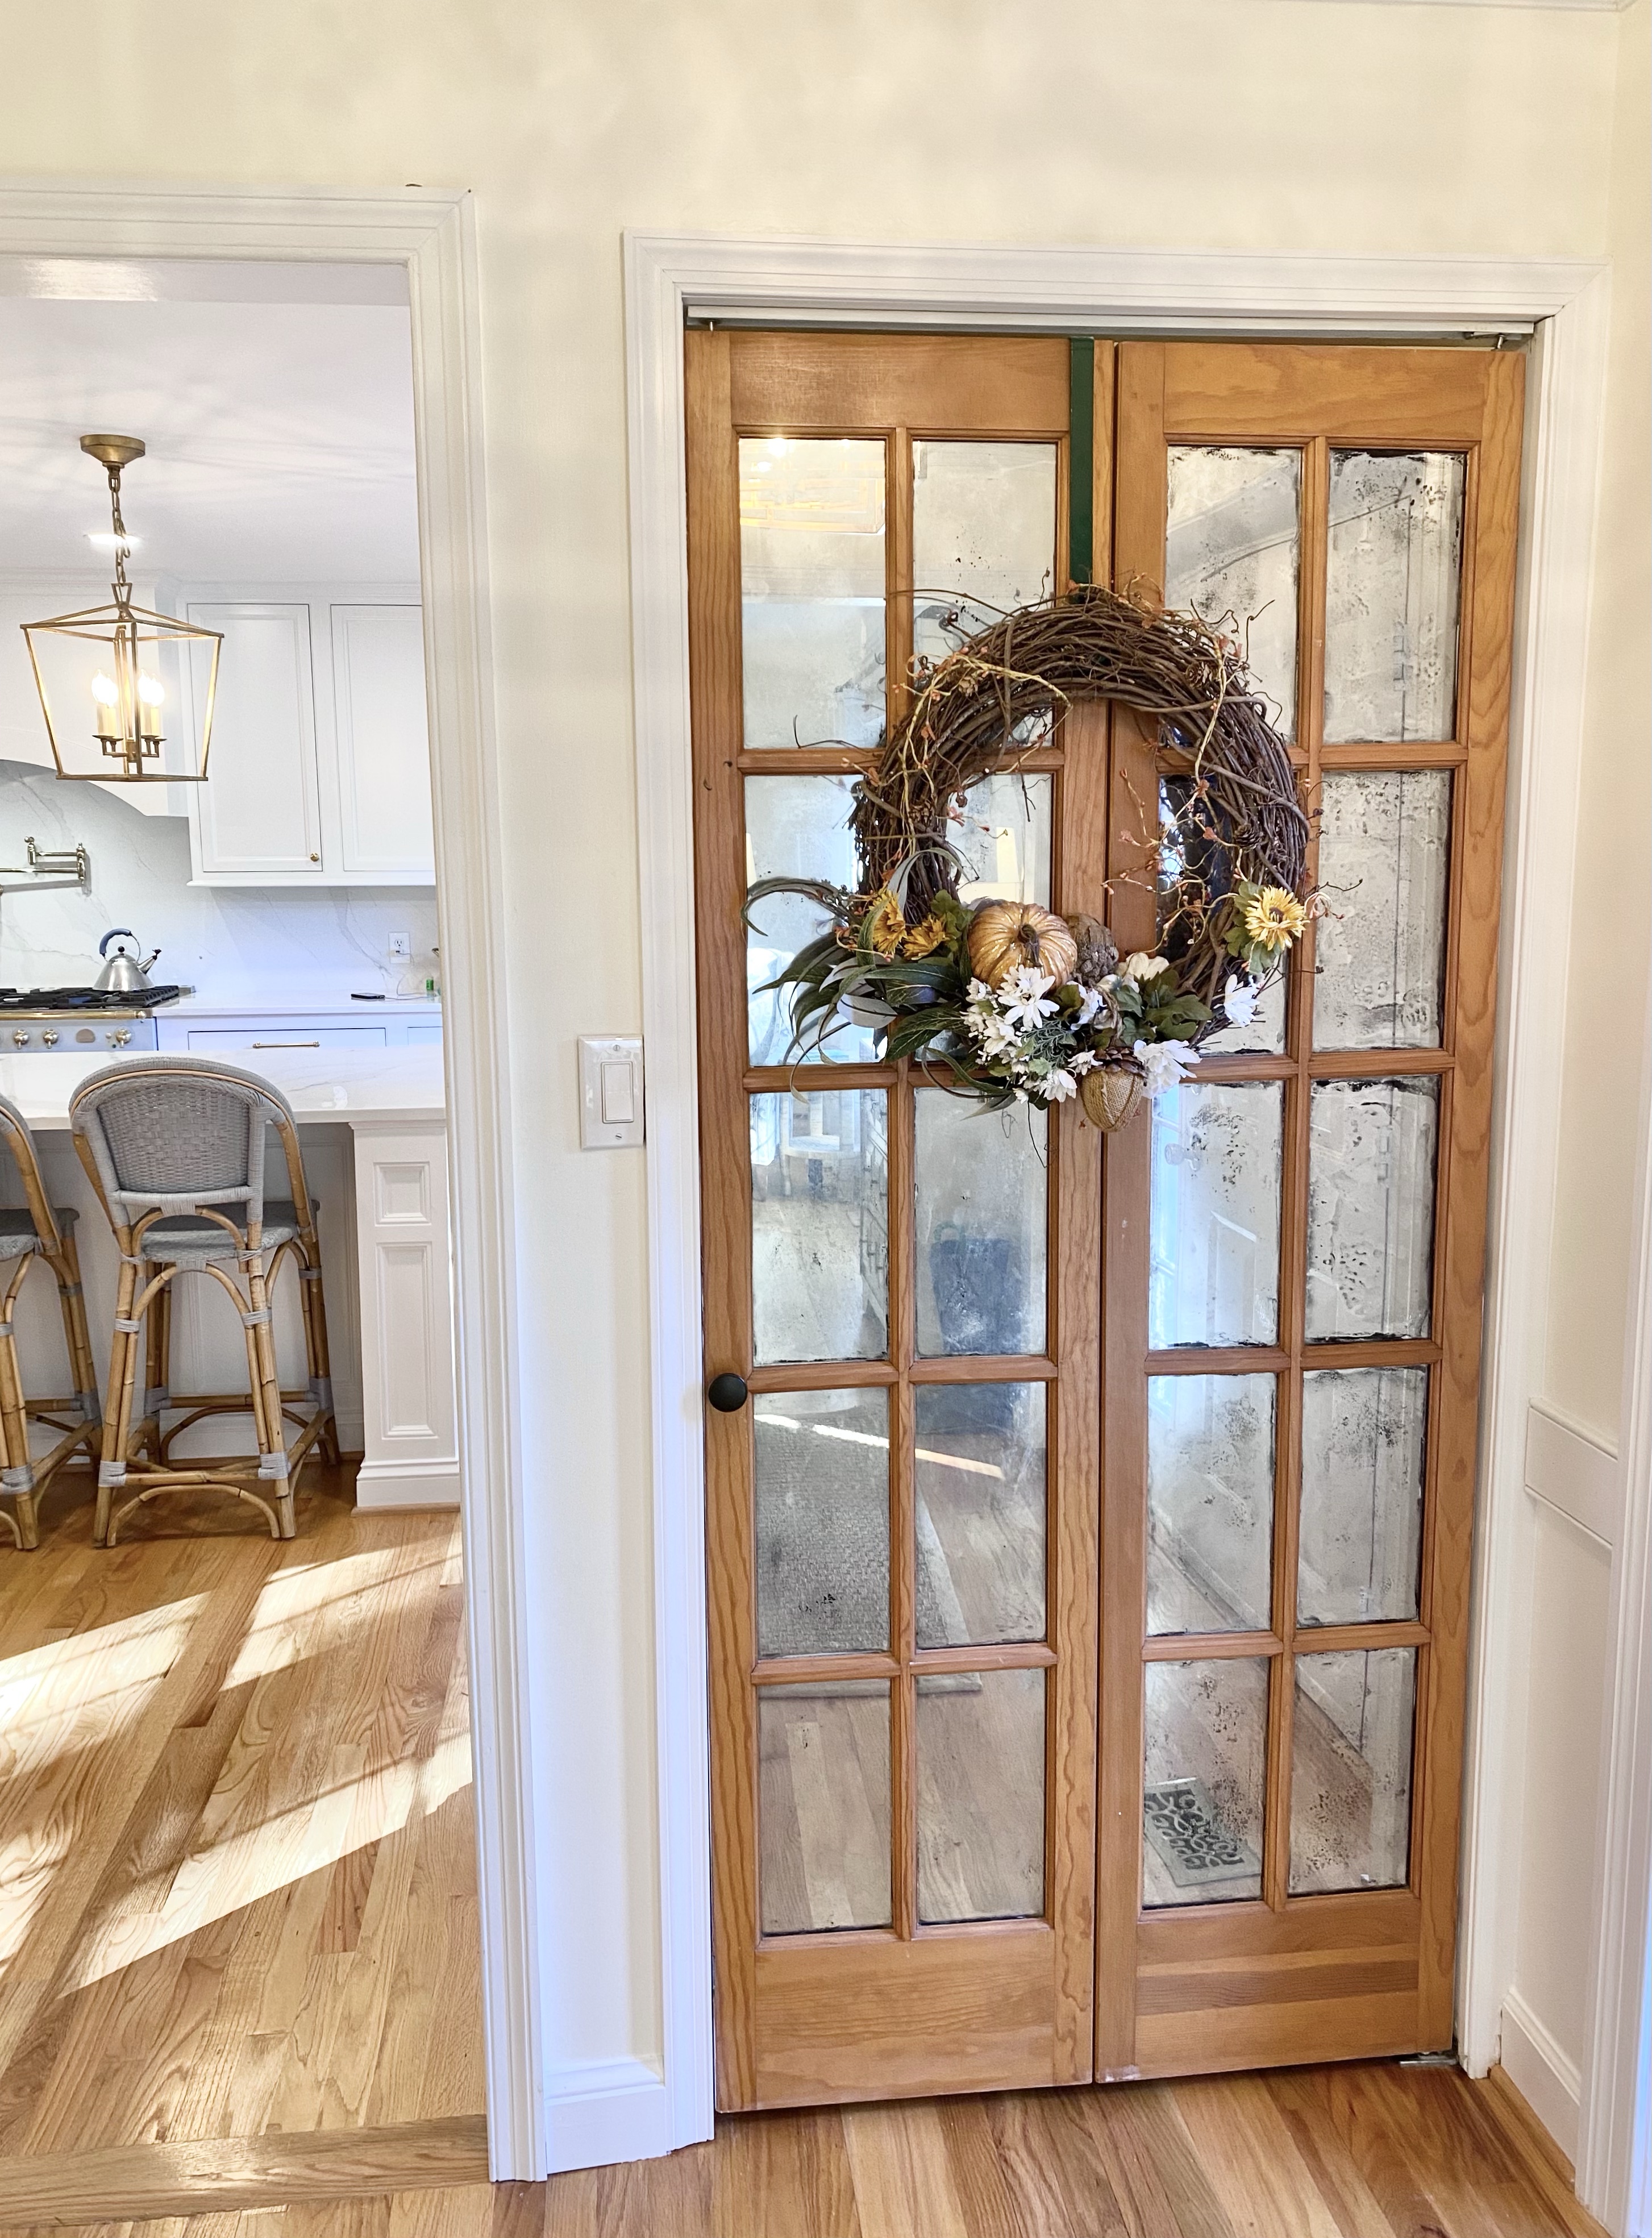
We took off the doors to the porch from our dining room, antiqued the glass, and then made our front closet a bit smaller to accept the new door.
We were lucky in that we were replacing the bifold doors to our porch with a sliding door. But, they are nothing fancy and OfferUp is full of cheap, standard sized French doors or glass doors that can be used for this project. The old closet had a 48” set of doors, and the bifold door off our porch was 36”. So we reframed the closet. I don’t recommend that part😆. We wanted the walkway to our kitchen bigger, so we made the closet smaller, it wasn’t just about reusing our doors. If you have a closet with a standard size door, just look for one the same size. Much easier.
But, once the closet opening was small enough for the door, all we had to do was tape off the frame from the back side of the door (the side that faces the clothes).
We spritzed the glass with a little bit of water, then applied a generous coat of Looking Glass spray paint. Let it dry, and Ta-Da!!
Glass doors are just one example of the fun you can have with that spray paint. Antique mirror a vase, a candle holder, whatever you feel like! This one is fun to do with the kids, too.
I love orchids. I can still remember walking into the Ralph Lauren Store on Rodeo about 20 years ago, and in the entryway they had a massive orchid arrangement. Swoon. Of course I bought nothing in the store and did plenty of googly eyes, and always remembered the orchids.
I’ve bought several orchids and they are gorgeous for a month or two, and then I can never get them to rebloom. After trashing several $20 orchids that have dropped their blooms, I finally decided to get a fake. Well, one quick internet search and I was turned off…The price of faux orchid arrangements can range from $350-700, depending on the size. And who wants a small one?!
After a little trial and error, I’m SO HAPPY with my faux arrangement. People are always blown away when I tell them that they are fake, and that they cost under $50! Here’s how it turned out:
white pebbles or any old rocks (I had some left over from another project)
some rope or twist ties to secure the stems to the stakes
Here’s what I did!
Step one – selected an awesome container. Mine is grandmillennial in style. I also used a massive clam shell bowl. This is the part where you get creative, but here are some suggestions if you don’t already have a bowl: blue and white bowl, brown wood bowl, pink terracotta bowl.
Step two – seat the foam disc at the bottom of the bowl. I used a few white rocks from home depot to weight it down.
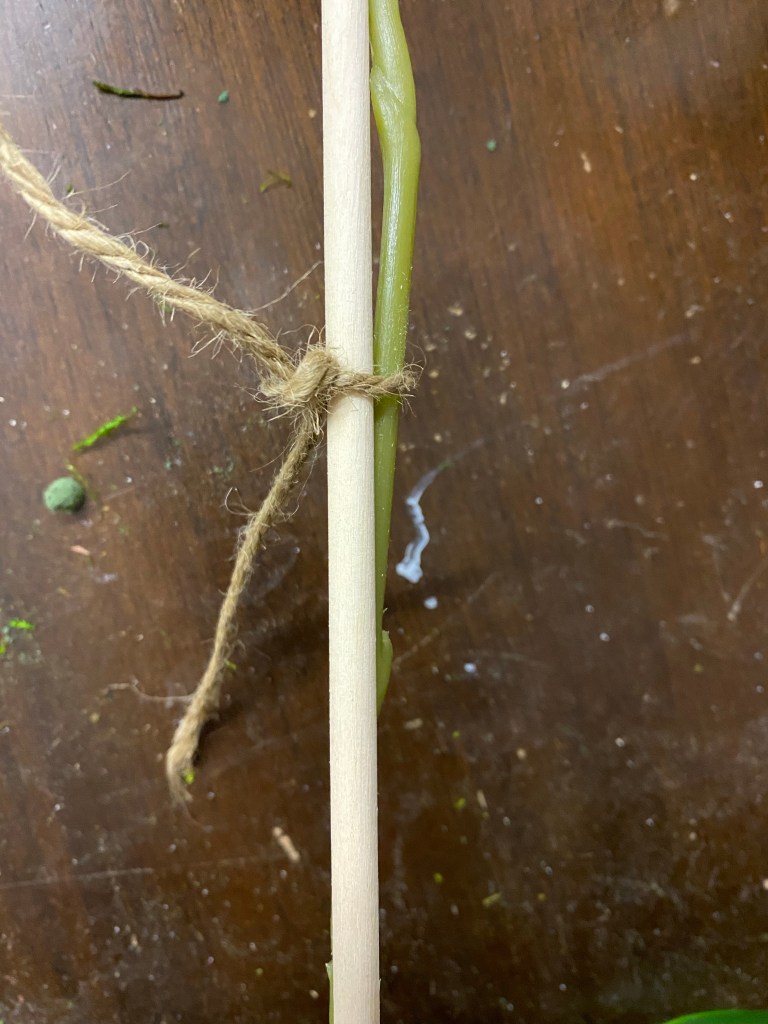
Step three – start adding your stakes and stems, right next to each other, in the foam. Use the rope or twist ties to tie the orchid stems to your stakes, maybe two per stake.
Seat them close together so you can tie the stems for support
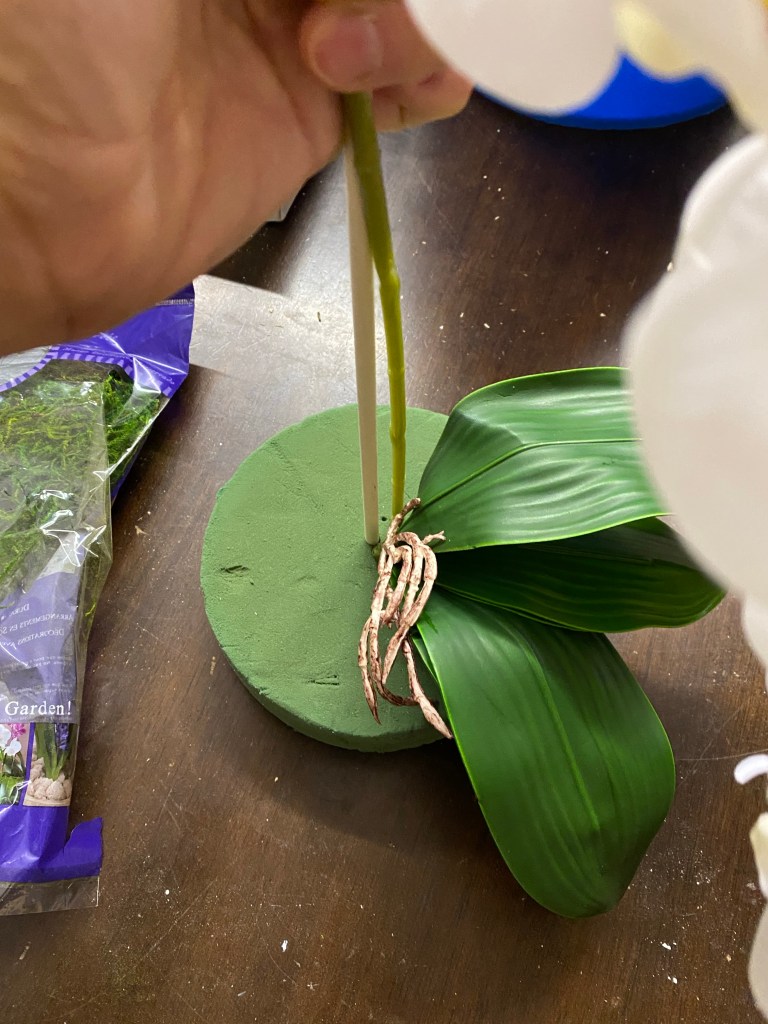
Step four – stick the orchid leaves/stems into the foam disk around the base of your stems and hide the foam disk
step five – garnish with a few more rocks and the faux moss to completely hide the disc.